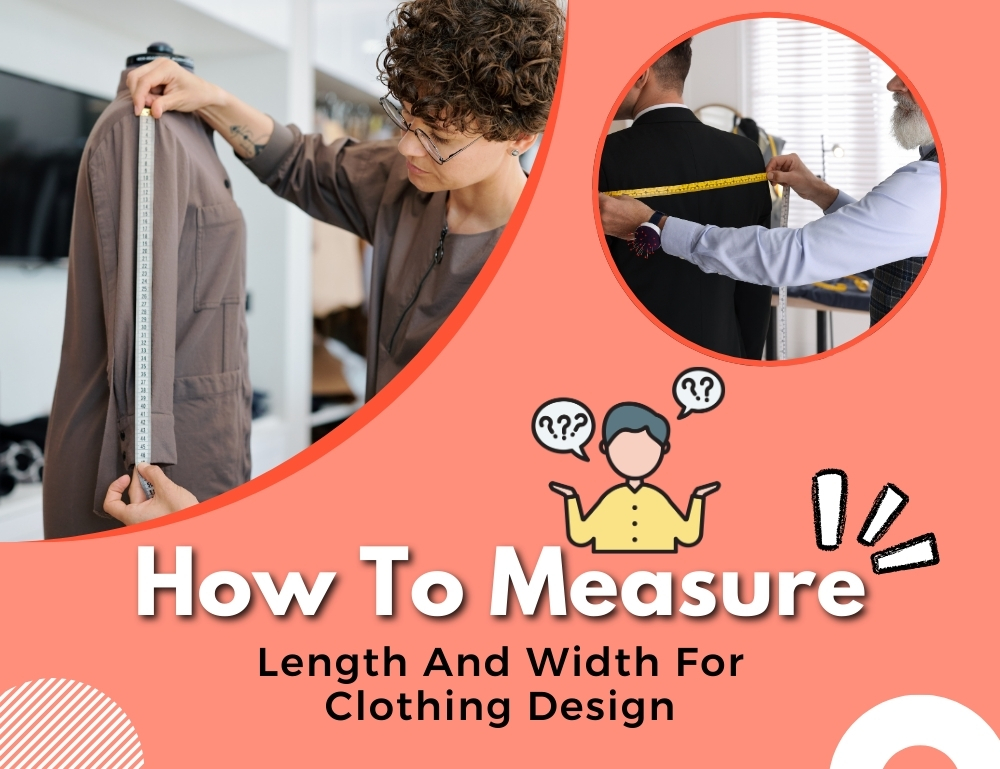
How To Measure Length And Width For Clothing Design
Creating well-fitting clothing requires accurate measurements, and knowing how to measure length and width correctly is crucial. Whether you’re designing custom clothing, tailoring for clients, or simply creating your own clothes, precise measurements make all the difference. This guide will walk you through the essentials of measuring length and width for clothing design.
1. Essential Tools for Accurate Measurements
Before diving into measurements, it’s essential to have the right tools on hand:
- Flexible Measuring Tape: Unlike rigid rulers, a soft, flexible measuring tape easily wraps around curves, which is necessary for most body measurements.
- Ruler or Straight Edge: For marking or measuring small, flat areas.
- Mirror: If you’re measuring yourself, a full-length mirror can help you verify accuracy.
- Notepad or Digital Device: To note down each measurement so you don’t lose track.
2. Key Length And Width Measurements In Clothing Design
Let’s start by understanding the two main categories of measurements:
- Length Measurements: These measurements help determine the distance from one point to another along the body, like shoulder to hem or waist to ankle.
- Width Measurements: These are taken around the body at key points such as the chest, waist, or hips to ensure the garment fits well without being too tight or loose.
3. How To Measure Length For Clothing Design
Length measurements provide the vertical distance along different parts of the body. Here are some key ones:
a. Shoulder to Hem
This measurement determines the overall length of tops, dresses, or jackets. Start at the top of the shoulder, right next to the neck, and measure down to the desired hemline. This is usually taken straight down for a cleaner measurement.
b. Sleeve Length
For long sleeves, sleeve length is critical. Begin measuring at the shoulder seam, then follow the outside edge of the arm down to the wrist bone. Be sure the arm is slightly bent to get an accurate length, as a straight arm may lead to a short measurement.
c. Waist to Ankle
This length is especially important for pants and skirts. Start at the natural waist (the narrowest part of the torso) and measure down to the ankle or the desired hemline.
d. Inseam (for Pants)
The inseam runs along the inner leg from the crotch to the ankle. This measurement helps ensure the pants fit well along the leg without being too short or too long.
4. How To Measure Width For Clothing Design
Width measurements are taken around specific areas of the body to gauge the circumference. Here are the main areas to measure:
a. Chest/Bust Width
Stand with your arms at your sides and wrap the tape measure around the fullest part of your chest or bust, making sure it stays level. This measurement is crucial for tops, jackets, and dresses to ensure the fabric won’t be too tight or loose across the chest.
b. Waist Width
Find your natural waist, usually the narrowest part of your torso just above the belly button. Hold the measuring tape around your waist, ensuring it’s comfortably snug without being too tight. This width helps with sizing for pants, skirts, and dresses.
c. Hip Width
For an accurate hip measurement, stand with your feet together and measure around the fullest part of your hips, usually 7-9 inches below the waistline. This is particularly important for fitted skirts, pants, and dresses.
5. Tips For Accurate Measurements
Accuracy is key when taking body measurements. Here are some tips to ensure precision:
- Measure Over Lightweight Clothing: Measuring over thin clothing or undergarments will give a more accurate size than measuring over thick clothes.
- Keep the Tape Snug but Not Tight: If the tape is too loose or too tight, the measurement may be off. Aim for a comfortable, snug fit with the tape.
- Use a Mirror: If you’re measuring yourself, use a full-length mirror to verify that the tape measure is level and straight around your body.
- Take Each Measurement Twice: Double-checking each measurement reduces the chances of errors.
6. Common Mistakes to Avoid
To ensure your measurements yield the best results, avoid these common pitfalls:
- Misplacing the Tape: Always ensure the tape measure is level and follows the natural curves of the body.
- Measuring Too Tightly: A too-tight measurement can result in a garment that’s uncomfortable to wear. A snug fit with a little bit of ease is usually ideal.
- Forgetting to Note Down Measurements: Keeping an organized record of each measurement helps prevent confusion and allows for consistency if adjustments are needed later.
Accurate length and width measurements are the backbone of a well-fitted garment. By following these simple steps and avoiding common mistakes, you can ensure your clothing designs fit precisely as intended. Whether you’re tailoring for clients or working on personal projects, measuring correctly can save time, resources, and fabric—and lead to stunning results. With practice, you’ll master the art of measurement, making every garment a perfect fit!


")